Example of the layers in your file
The file must contain three separate layers with the correct names.
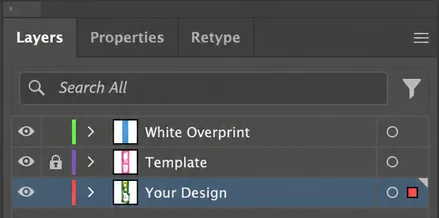
Correct layer names and order
Print data preparation
For your order to run smoothly through production, please follow these rules when preparing your artwork and, later, your print data.
Please supply your print data at actual size (1:1 scale).
All graphic elements (logos, images, text) must be on one separate layer.
Our print template (die line) must be placed on a second, separate layer.
The white underprint must be on the third, topmost layer, in a spot colour, and must be named “bila-white”.
All bitmap images must have a minimum resolution of 300 DPI at print size.
A 3 mm bleed must be added around the entire edge.
All data must be prepared in CMYK colour mode.
The file must contain three separate layers with the correct names.
Correct layer names and order
Would you like to see your packaging in 3D before it goes into production? Upload your artwork to our configurator and check the result.
Show 3D preview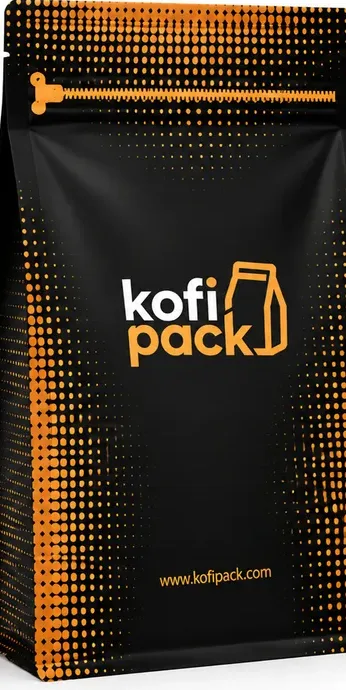 3D
You can download the print template (die line) for each pouch in the configurator where you design it.
Choose a pouch and templateOnce your artwork is ready, proceed as follows:
Check that the data is in CMYK, has a 3 mm bleed and that all the required layers have been preserved.
If you want to add transparent windows or metallic effects to your design, these parts of the artwork must be separated onto layers of their own.
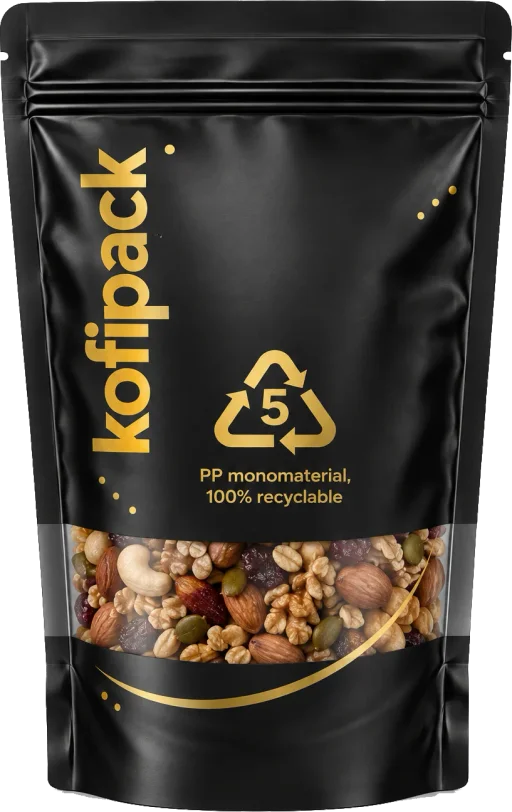
Remove the areas that should be transparent from both the artwork layer and the “White overprint” layer.
If the pouch is mostly transparent and contains only graphic elements (e.g. a logo), remove the entire colour area from the “White overprint” layer and cover the graphic elements with white.
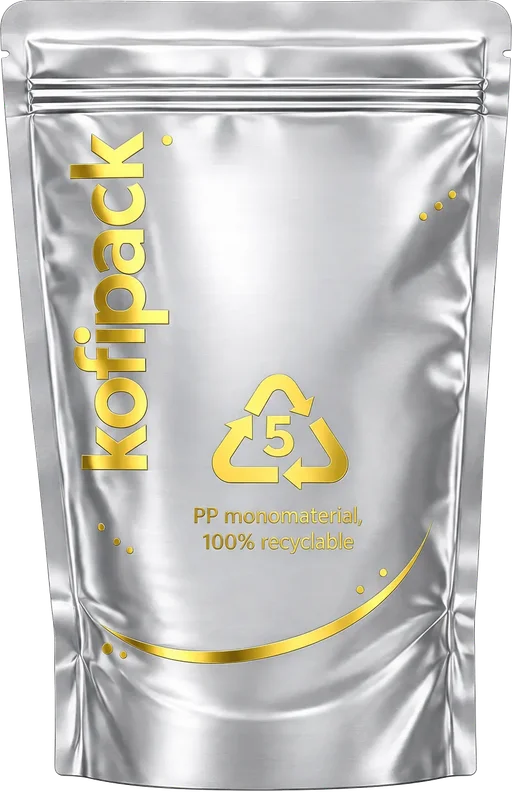
For metallic effects (printing on a silver base), create a separate layer and remove the areas that should be metallic from the “White overprint” layer.
In these areas, the print goes directly onto the metallic base, which creates the desired effect.
Not sure how to prepare your data, or have specific requirements? Get in touch – we will be happy to help.
Don't have your own artwork? We will create a professional, custom packaging design for you.
Order a graphic designRecommended file formats: PDF, AI, EPS
Any questions? Write to us at obchod@kofipack.cz – we are happy to help.